A professional food photographer charges $150–$500 per hour, requires advance booking, and expects styled props and a dedicated shoot day. If you need sharp dish visuals for a new menu item launching next week, that timeline doesn't work. This guide walks you through exactly how to create polished AI images for a restaurant menu — from writing the prompt to dropping the image into your menu layout.
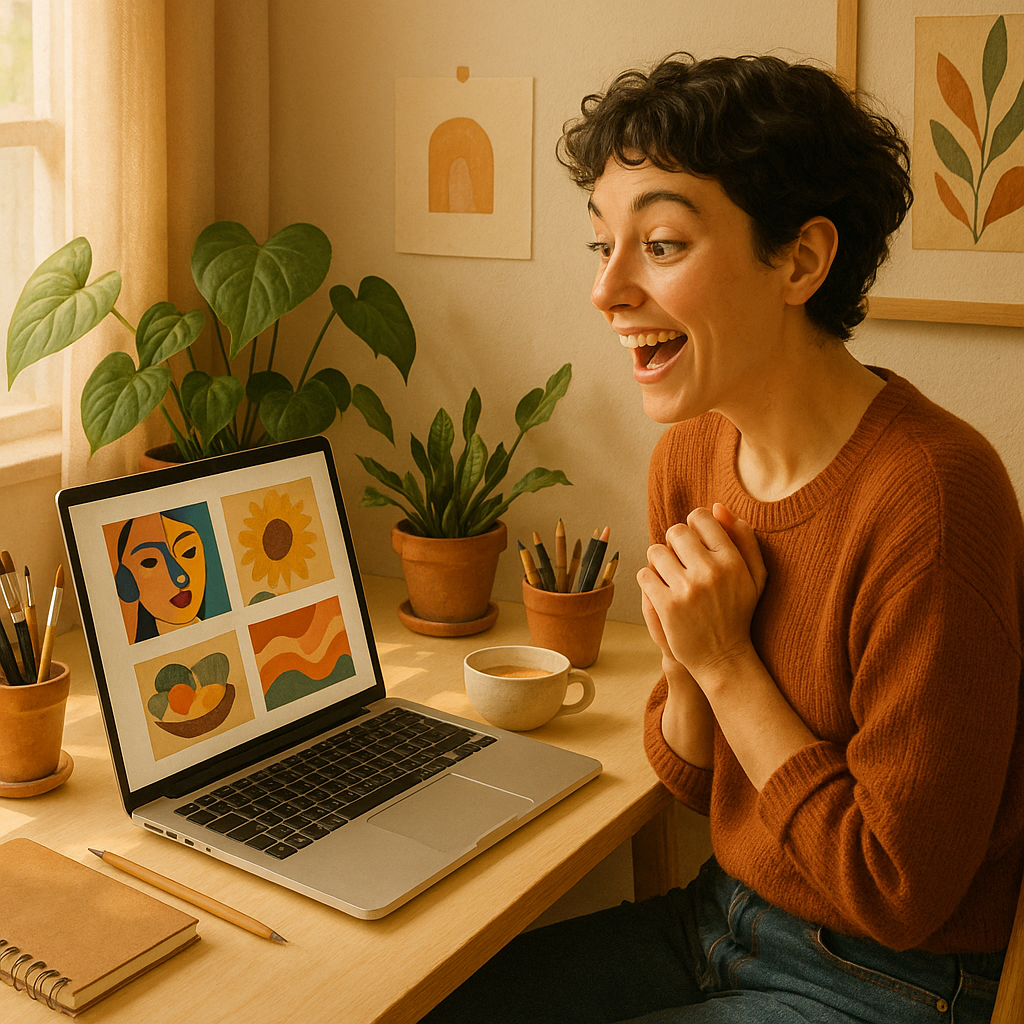
Quick answer: Describe your dish in detail — plating, angle, lighting, background — and an AI image generator returns a professional-quality food photo in seconds. No photographer, no food stylist, no subscription. You pay a few cents per image and own the result immediately.
What Makes a Food Image Work on a Menu
A great menu photo does one job: it makes the reader want to order that dish. That means accurate color, appetizing plating, and a composition that highlights the main ingredient. Before you write a single prompt, decide on three things:
- Angle — overhead (flat lay) works well for bowls, platters, and shared dishes; a 45-degree angle shows height and layers for burgers, stacks, and plated entrées
- Lighting — soft natural light reads fresh and clean; warm golden tones suit comfort food and rustic cuisines; bright even light works for fast-casual and delivery platforms
- Background — a dark slate or wooden board signals premium; a white ceramic surface reads modern and clean; a linen cloth suggests casual and approachable
Locking these three in before you open ATXP Pics means your first prompt produces something usable — not a starting point that needs five rounds of correction.
How to Write a Prompt That Gets the Shot
The most common mistake is a vague prompt like "a photo of pasta." That produces a generic stock-photo result. A specific prompt produces a menu-ready image.
Here's the structure that works:
- Lead with the dish name and key ingredients — what's in the frame
- Describe the plating — how it's arranged on the plate or in the bowl
- Set the angle and framing — overhead, 45-degree, close-up detail
- Specify the lighting — soft natural window light, warm ambient, bright studio
- Name the surface and background — dark slate, white plate on marble, rustic wood
- Add a style reference if helpful — "editorial food photography," "Michelin restaurant plating," "casual diner aesthetic"
Copy-ready prompt example:
Grilled salmon fillet with lemon butter sauce, roasted asparagus, and a wedge of lemon on a white ceramic plate. 45-degree angle, soft natural window light from the left, shallow depth of field, dark slate background. Editorial food photography style, high resolution.
That single prompt generates a professional result you can drop into a menu layout today.
Step-by-Step: Creating Your Menu Images
The full process from blank page to finished image takes under five minutes per dish.
Step 1: List Every Dish That Needs a Photo
Prioritize your highest-margin items and anything new on the menu. You don't need an image for every item — 8 to 12 hero images across a menu is standard.
Step 2: Write One Prompt Per Dish
Use the structure above. Keep a consistent lighting style and background choice across all dishes so the menu feels cohesive. If soft natural light on a white surface is your system, apply it to every prompt.
Step 3: Generate and Select
Run the prompt at ATXP Pics. Generate 2–3 variations per dish by adjusting small details in the prompt (slightly different angle, garnish placement). Pick the strongest result.
Step 4: Check for Accuracy
Scan the image for anything that conflicts with how the dish is actually made — wrong protein color, missing garnish, inaccurate portion size. If something's off, adjust the prompt and regenerate. This is faster than reshooting on a photography set.
Step 5: Export and Place
Download the image and drop it into your menu design file — InDesign, Canva, or whatever your designer uses. AI images from ATXP Pics are yours to use commercially.
Matching Image Style to Your Restaurant Type
Your image aesthetic should match your restaurant's price point and personality. A mismatch — dark moody plating for a family diner, or bright casual tones for a fine-dining menu — confuses guests before they read a single description.
| Restaurant Type | Recommended Style | |---|---| | Fast casual / delivery-first | Bright, even lighting. Clean white or neutral background. Overhead or slight angle. | | Casual dining | Warm ambient light. Wood or slate surface. 45-degree angle. Approachable and hearty. | | Upscale / fine dining | Moody, directional light. Dark backgrounds. Precise plating, lots of negative space. | | Café / brunch | Soft natural light. Linen or marble surface. Overhead flat lay. Fresh and airy. | | Food truck / street food | Bold colors, high contrast. Casual framing. Rustic or outdoor-adjacent background. |
Pick one row and stay consistent across your entire menu shoot. Consistency makes a self-produced menu look intentional — not assembled from random stock images.
What AI Menu Images Cost vs. a Photographer
At a few cents per image with no monthly commitment, AI images cost a fraction of professional food photography for most menu use cases.
A mid-range food photographer charges around $250/hour. A basic shoot covering 10 dishes with setup, styling, and editing runs 3–4 hours minimum — call it $750 to $1,000 before any retouching. At ATXP Pics, 10 images costs a few dollars total. Your balance never expires, so if you add two new seasonal dishes in October, you pay for two images — not another monthly subscription you're charged for whether you create or not.
Generate your first dish image →
For restaurants on delivery platforms like DoorDash or Uber Eats, item photos directly impact conversion rates. Updating a photo takes 30 seconds and costs cents. That math is hard to argue with.
Common Mistakes to Avoid
- Inconsistent lighting across dishes — generates a menu that looks like images from five different shoots. Lock your lighting style in prompt #1 and copy it exactly.
- Skipping the angle spec — without it, the generator chooses for you. Sometimes it works; often it doesn't match the rest of your menu.
- Prompting for perfection in one shot — generate 2–3 variations. Small prompt changes (swap "warm golden light" for "soft natural light") produce meaningfully different results.
- Ignoring accuracy — AI doesn't know your recipe. If the salmon should be skin-on, say so. Review every image against the actual dish before publishing.
A full menu refresh that used to require a half-day photography booking now takes an afternoon of prompt writing. You control the style, the angle, and the timeline — and you pay only for the images you actually use.