You're building a Webflow site — for a client or yourself — and you need visuals that aren't generic stock photos. AI image generation solves this in minutes, and this guide shows you exactly how to use it, section by section, without buying a design tool subscription or a stock library.
Quick answer: Generate AI images for your Webflow site by describing the exact visual you need — style, subject, lighting, and orientation — and download the resulting image file. Upload it directly to Webflow's asset manager. No subscription required. Pay a few cents per image, only when you need one.
Why Stock Photos Are the Wrong Default for Webflow Sites
Stock photos make every Webflow site look like every other Webflow site. The same smiling team-meeting photo, the same laptop-on-a-coffee-table hero, the same abstract blue gradient — your clients have seen them all. Worse, stock subscriptions charge $30–$50/month whether you're actively working on a project or not.
AI images let you generate something specific to the brand: the right color palette, the right mood, the right subject matter. A fintech client gets a sharp, minimal visual of financial data. A wellness brand gets warm, natural light with botanical elements. Neither image exists in any stock library.
The other advantage: you can iterate in seconds. Don't love the composition? Adjust the prompt and generate again. With stock photos, you spend 20 minutes scrolling through 400 mediocre options and settle.
How to Plan Your AI Images Before You Open Webflow
Map every image slot before you generate a single one. Webflow sites have predictable visual needs, and a quick audit saves you from generating images that don't fit.
Walk through your sitemap and list:
- Hero images — one per page, usually wide landscape (1920×1080 or larger)
- Section backgrounds — often need a subtle texture or blurred depth so overlaid text stays readable
- Feature/card images — square or portrait orientation, usually 3–6 per section
- Blog or case study thumbnails — consistent style and aspect ratio across the set
- Team or persona illustrations — if the client doesn't have professional headshots
For a standard 5-page Webflow build, expect 10–15 images. Write a one-line description for each before you start generating — this becomes your prompt foundation.
Writing Prompts That Produce Webflow-Ready Images
The quality of an AI image comes down almost entirely to how specifically you describe it. Vague prompts produce generic results. Specific prompts produce images you can drop straight into a live site.
Structure Every Prompt with These Four Elements
- Subject — what's actually in the image
- Style — photorealistic, illustrated, flat design, watercolor, 3D render
- Lighting and mood — bright and airy, dramatic shadows, warm golden hour, cool and clinical
- Composition and orientation — wide landscape, square, close-up, overhead shot, centered subject with room for text overlay
Prompt Examples by Section Type
Hero background (SaaS product): "Wide landscape shot of a clean modern office, natural light through floor-to-ceiling windows, empty desk with minimal equipment, soft blue and white tones, photorealistic, 16:9 aspect ratio"
Feature card image (wellness brand): "Square close-up of green botanical leaves with water droplets, soft natural lighting, slightly blurred background, warm and calm mood, photorealistic"
Section background with text overlay: "Abstract dark navy texture with subtle geometric lines, no text, smooth gradients, wide landscape, dark enough for white text overlay"
What to Avoid in Your Prompts
- Don't describe what you don't want without also describing what you do want ("no people" alone won't help — say "empty landscape, no figures")
- Don't skip the orientation — Webflow sections have fixed aspect ratios and a portrait image in a landscape slot causes layout problems
- Don't use brand names of real products or people — describe the type of object instead
Generating and Downloading Your Images
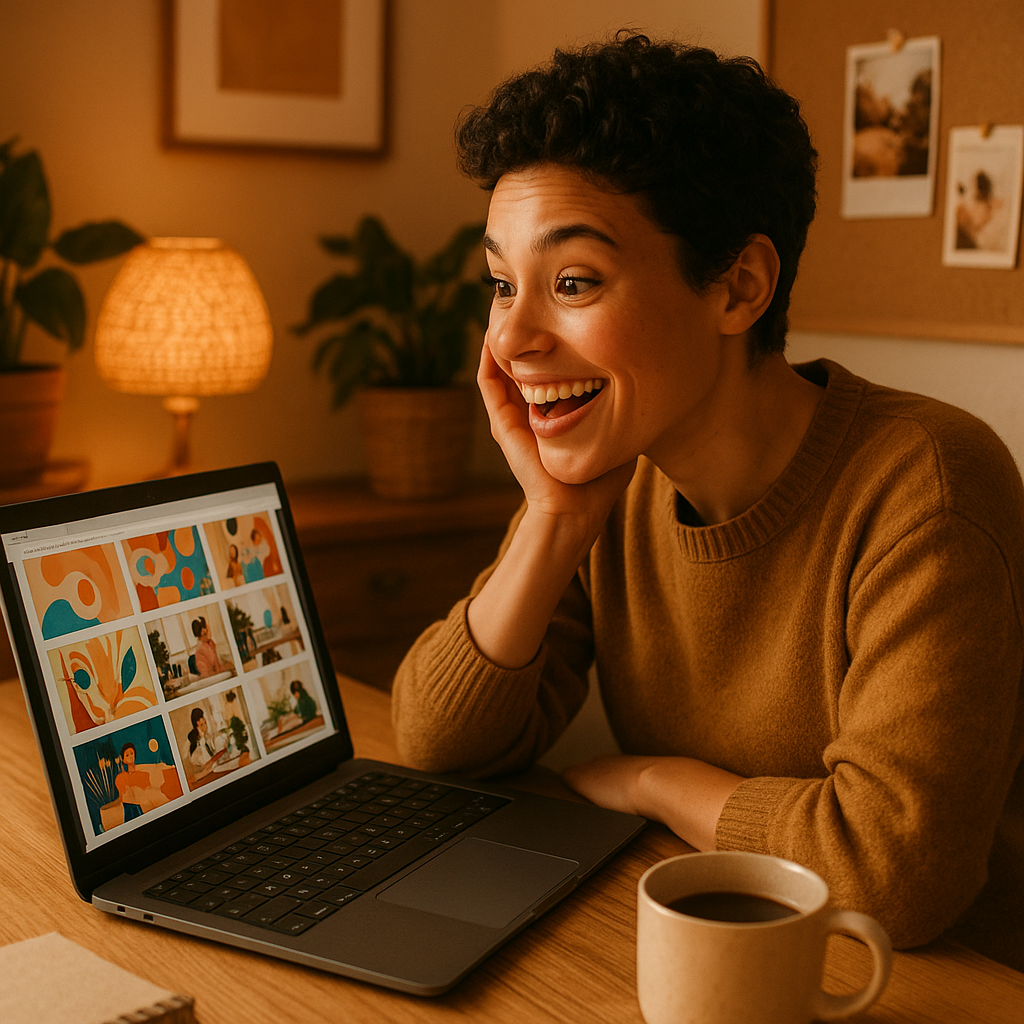
The workflow is three steps: write your prompt, review the result, download the file. ATXP Pics uses a simple chat interface — type your prompt, get your image. No software to install, no design skills required.
- Open atxp.pics/ai-image-generator-for-business and sign up — no payment required at signup
- Add image credits to your balance (a few cents per image; your balance never expires)
- Paste your prompt and generate
- If the result is close but not right, adjust one element of the prompt and regenerate — don't rewrite the whole thing
- Download the image as a PNG or JPG
For a full 5-page site, budget 30–45 minutes for generation including prompt refinement. At a few cents per image and roughly 20 generations to get 12 final images, the total cost is usually under $2.
Uploading and Optimizing AI Images in Webflow
Upload your AI images to Webflow's asset manager exactly as you would any photo. Go to Assets in the left panel, click the upload button, and drag your files in. Webflow handles the CDN delivery automatically.
Three Things to Do Before Uploading
- Compress the file. AI-generated images can be large. Run them through a tool like Squoosh or TinyPNG to bring file sizes under 200KB without visible quality loss. Webflow will also auto-optimize on delivery, but starting smaller helps.
- Name files descriptively.
hero-saas-office-light.jpgis better thanimage-4.pngfor your own sanity and for Webflow's alt-text suggestions. - Set alt text. In Webflow's image settings, write a plain-English description of the image. This matters for accessibility and for search indexing.
Matching Style Across a Site
If you're generating multiple images for one brand, keep a consistent prompt prefix for style and lighting. Paste it at the start of every prompt:
"Photorealistic, warm natural lighting, soft shadows, neutral background tones — [then your specific subject]"
This produces a cohesive visual language across the site without needing a designer to unify the look.
When AI Images Work Best (and When to Use Something Else)
AI images are the right call for any visual that needs to be specific to a brand but doesn't need to show real people or real products. Backgrounds, textures, lifestyle scenes, abstract concepts, illustrated icons — all generate well.
Use real photography instead when:
- The client's actual product needs to be shown (physical goods, real spaces)
- Real team headshots are needed — AI portraits are good but not a substitute for genuine photos of actual people
- The brand has strict brand guidelines requiring exact color matching in photography
For everything else — hero backgrounds, section imagery, blog thumbnails, concept illustrations — AI generation is faster, cheaper, and more on-brand than any stock library.
Building Webflow sites for clients means your visuals need to be as polished as your layouts. Generate your next set of site images at ATXP Pics → — describe what you need, download what you get, and spend the time you saved on the work that actually requires your expertise.