A skincare brand's product photo does one job: make the formula look trustworthy enough to put on your face. Studio photography gets there, but it's expensive, slow, and inflexible every time you want a seasonal variation or a new ad angle. This guide walks you through how to create AI product photos for skincare that look clean, clinical, and ready to convert — from first prompt to final image.
Quick answer: Type a detailed description of your skincare product, the surface it sits on, the lighting style, and the mood you want. An AI image generator produces a high-quality product photo in seconds — no studio, no photographer, no monthly subscription required. Pay only for the images you actually create.
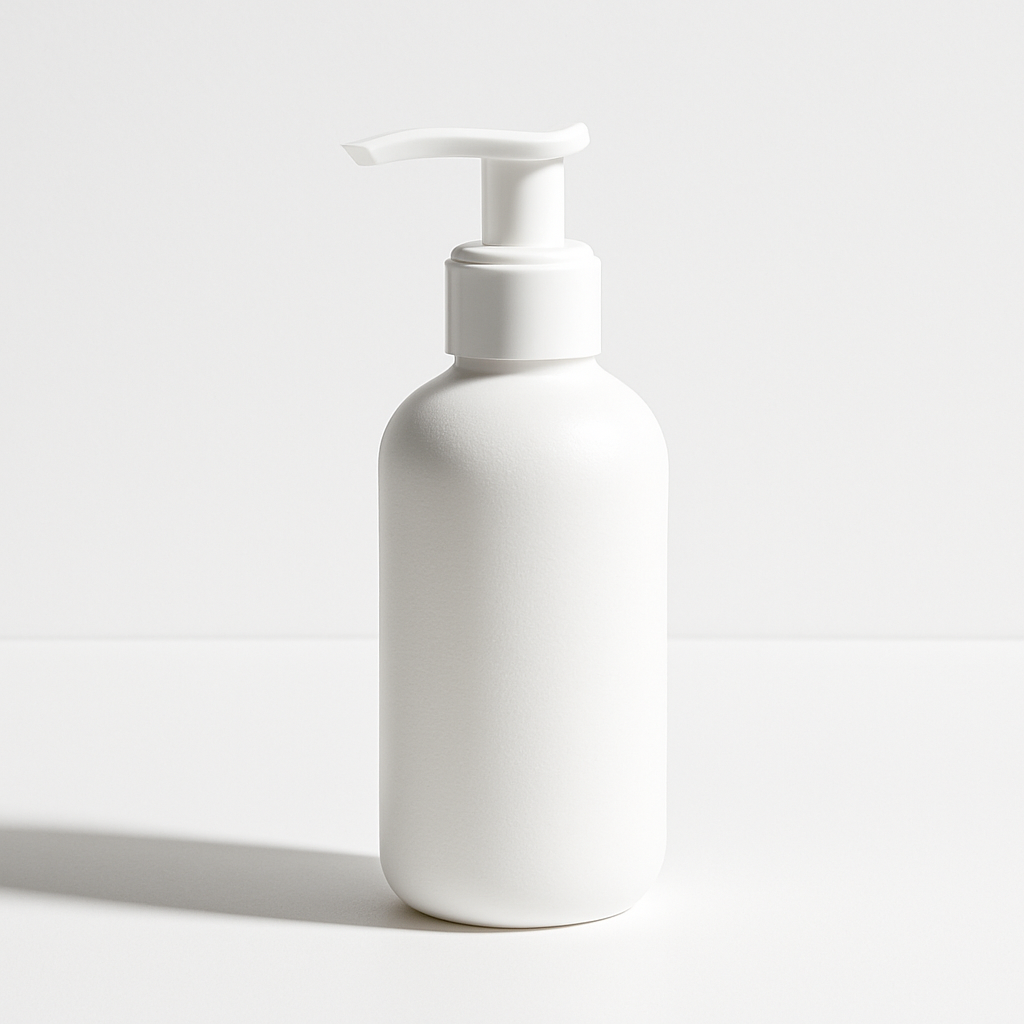
What Makes a Skincare Product Photo Convert
The best skincare product photos communicate cleanliness, efficacy, and brand positioning without a single word. Research into e-commerce conversion consistently shows that product image quality is the top purchase driver for beauty and personal care. Specifically, skincare buyers respond to:
- Neutral or muted backgrounds — white, cream, stone, or frosted surfaces signal purity
- Soft, diffused lighting — harsh shadows suggest cheap photography; even light suggests clinical precision
- Contextual props used sparingly — a single botanical ingredient, a drop of serum, or a linen cloth reinforces the formula story
- Consistent visual brand language — every image should look like it came from the same shoot
AI generation lets you control every one of these variables through your prompt, and iterate in minutes rather than days.
How to Write an AI Prompt for Skincare Product Photography
Your prompt is your creative brief, and specificity is everything. A vague prompt like "skincare product photo" produces a generic result. A structured prompt produces something you can actually use.
Break your prompt into four components:
1. The Product Itself
Describe the format, container, and any visible branding details. Example: "a 50ml amber glass serum bottle with a gold dropper cap."
2. The Surface and Background
Name a specific material. "White marble surface," "matte white background," "cool grey concrete," "light oak shelf" — each creates a distinct mood.
3. The Lighting
Call out the style: "soft studio lighting," "backlit with rim light," "golden hour window light," "cool clinical overhead light." Lighting more than any other variable defines whether the image reads luxury, clinical, or natural.
4. The Mood or Style Reference
Add a final descriptor: "minimal and editorial," "clean and clinical," "warm and botanical," "luxury apothecary." This steers the overall aesthetic so the result matches your brand voice.
Copy-ready prompt example: "Product photo of a 50ml amber glass serum bottle with a gold dropper cap, placed on a white marble surface with soft diffused studio lighting, surrounded by three dried chamomile stems, minimal and clinical aesthetic, neutral white background, high-end skincare brand editorial style"
Run that prompt, review the result, and adjust any single variable to get a different version — different surface, different prop, different light — in seconds.
Step-by-Step: From Prompt to Publishable Image
- Define your use case first. Are you creating a hero image for your Shopify product page, a square for Instagram ads, or a thumbnail for a landing page? The intended format shapes your aspect ratio and composition needs before you type a single word.
- Write your structured prompt using the four-component framework above. Start with the product, then surface, then lighting, then mood.
- Generate and evaluate. Look at the result against your brand standards. Is the lighting consistent with your other images? Does the background color match your site palette?
- Refine with targeted edits. If the background is too warm, add "cool white background" to the prompt. If the lighting looks harsh, replace your lighting descriptor with "soft diffused light, no hard shadows."
- Generate variations for testing. Once you have a base image you like, create 3–4 variations by changing one variable at a time — surface texture, prop placement, light angle. Use these for A/B testing ad creative.
- Export and deploy. Download your final images and use them directly on your product pages, ad campaigns, or pitch decks.
Generate your first skincare product photo →
Common Prompt Mistakes That Produce Generic Results
The most common reason an AI product photo looks stock-photo generic is an under-specified prompt. These are the mistakes that consistently produce weak results:
- No surface specified — leaving out the background material forces the generator to guess, and the guess is usually plain white with no texture or depth
- No lighting style — "good lighting" is meaningless; "soft diffused studio lighting with a subtle left fill" is actionable
- Overloaded props — asking for "flowers, leaves, water droplets, and cream texture" in one image creates visual clutter; one or two prop elements is the maximum
- No brand mood anchor — without a style reference like "clean and clinical" or "warm and botanical," the output defaults to a generic commercial look
Fix any one of these and your results improve immediately.
The Cost Case for Pay-Per-Image Skincare Photography
For skincare brands that don't need a full shoot every month, pay-per-image pricing is significantly more economical than a subscription or a studio.
| Scenario | Cost | Images | |---|---|---| | Professional studio shoot | $500–$1,500/session | 10–20 final edits | | Midjourney Basic subscription | $10/month, every month | ~150/month (charged even when unused) | | ATXP Pics (pay-per-image) | A few cents per image | Generate only what you need |
If you're launching a new SKU, running a seasonal campaign, or testing creative for a single ad set, you don't need a monthly subscription — you need 10 to 20 great images. Pay for those images, not for the months when you're not creating anything.
For a founder running a small skincare line, the math is straightforward: a single studio day to photograph three products costs more than a year's worth of AI-generated imagery at average usage.
What AI Product Photos Can and Can't Do
AI product photography excels at lifestyle context, background variation, and creative iteration — it works best when you already have a clear visual brief.
It's the right tool when you need:
- Multiple background or surface variations of the same product
- Fast creative for social ads without booking a photographer
- Mockup images before physical inventory exists
- Seasonal or campaign-specific variations at low cost
It's worth supplementing with real photography when you need:
- Macro texture shots of a cream or serum in-use
- Precise label legibility on a specific bottle design
- User-generated or lifestyle content with real people
Most skincare brands end up using both — AI-generated imagery for campaign flexibility and controlled studio shots for hero product images.
Start With One Product, One Prompt
The fastest way to see whether AI product photos will work for your skincare brand is to generate one image and compare it directly to what you'd otherwise pay for. Start with your bestselling SKU, write a structured four-part prompt, and generate five variations. You'll know within ten minutes whether the output matches your brand standards.
No subscription required. Your balance doesn't expire. You pay for the images you actually use.