You want an image — a product photo, a portrait, a social post visual — but you don't have Photoshop skills, a camera, or a designer on call. AI image generators solve exactly that problem, and this guide walks you through how to use one from your first description to a finished image you can actually use.
Quick answer: To generate an image with AI, describe what you want in plain English — subject, setting, lighting, style — and the tool produces an image in seconds. No design skills are needed. The quality of your result depends mostly on how specific your description is, not on any technical knowledge.
What "Generating an Image With AI" Actually Means
AI image generation turns written descriptions into visual images — automatically, in seconds. You type what you want to see, and the tool produces it. There's no canvas, no layers, no file formats to manage. The entire interface is a text box.
This is genuinely useful for anyone who needs visuals but isn't a designer: small business owners making product graphics, writers visualizing scenes, marketers mocking up social content, or anyone who just wants to see an idea made real.
You don't need to understand how it works technically. What you do need is a clear idea of what you want — and a few simple techniques for describing it well.
Step 1 — Start With a Clear Subject
The first thing your prompt needs is a specific subject. Not "a person" — but "a woman in her 40s with short gray hair." Not "a product" — but "a white ceramic coffee mug on a wooden table."
Vague prompts produce generic results. Specific prompts produce images that look like yours.
Ask yourself:
- Who or what is in the image?
- What are they doing, wearing, or holding?
- How many subjects are there?
Write that down first. Everything else builds on it.
Step 2 — Add Setting, Lighting, and Mood
Once you have a subject, tell the generator where they are and how the scene is lit. These two details do more to shape the feel of an image than almost anything else.
Setting examples:
- "in a sunlit kitchen"
- "against a plain white studio background"
- "on a busy city street at dusk"
Lighting examples:
- "golden hour light"
- "soft diffused window light"
- "dramatic side lighting with deep shadows"
Mood is optional but powerful — words like "calm," "energetic," "melancholy," or "editorial" give the generator a direction to aim at.
Step 3 — Specify a Visual Style
Telling the generator what style you want prevents it from making a random aesthetic choice. Style cues can be:
- A medium: "oil painting," "watercolor," "photograph," "pencil sketch"
- A genre: "product photography," "editorial portrait," "flat illustration"
- A reference point: "in the style of a 1970s travel poster," "like a high-fashion magazine cover"
You don't need all of these. Even one style cue significantly narrows the result toward something usable.
Step 4 — Write and Refine Your Prompt
Put your subject, setting, lighting, and style together into one description. Don't overthink the grammar — generators read descriptions, not sentences.
Here's a real prompt you can copy and adapt:
Prompt example: "A woman in her early 30s sitting at a marble café table, warm afternoon window light, wearing a navy linen shirt, holding a white ceramic cup, soft smile, editorial portrait style, shallow depth of field"
That prompt took about 30 seconds to write. It produces results that are specific, consistent, and usable — not a generic stock-photo approximation.
If the first result isn't right, adjust one element at a time. Change the lighting, the setting, or add a detail. You don't need to rewrite the whole prompt.
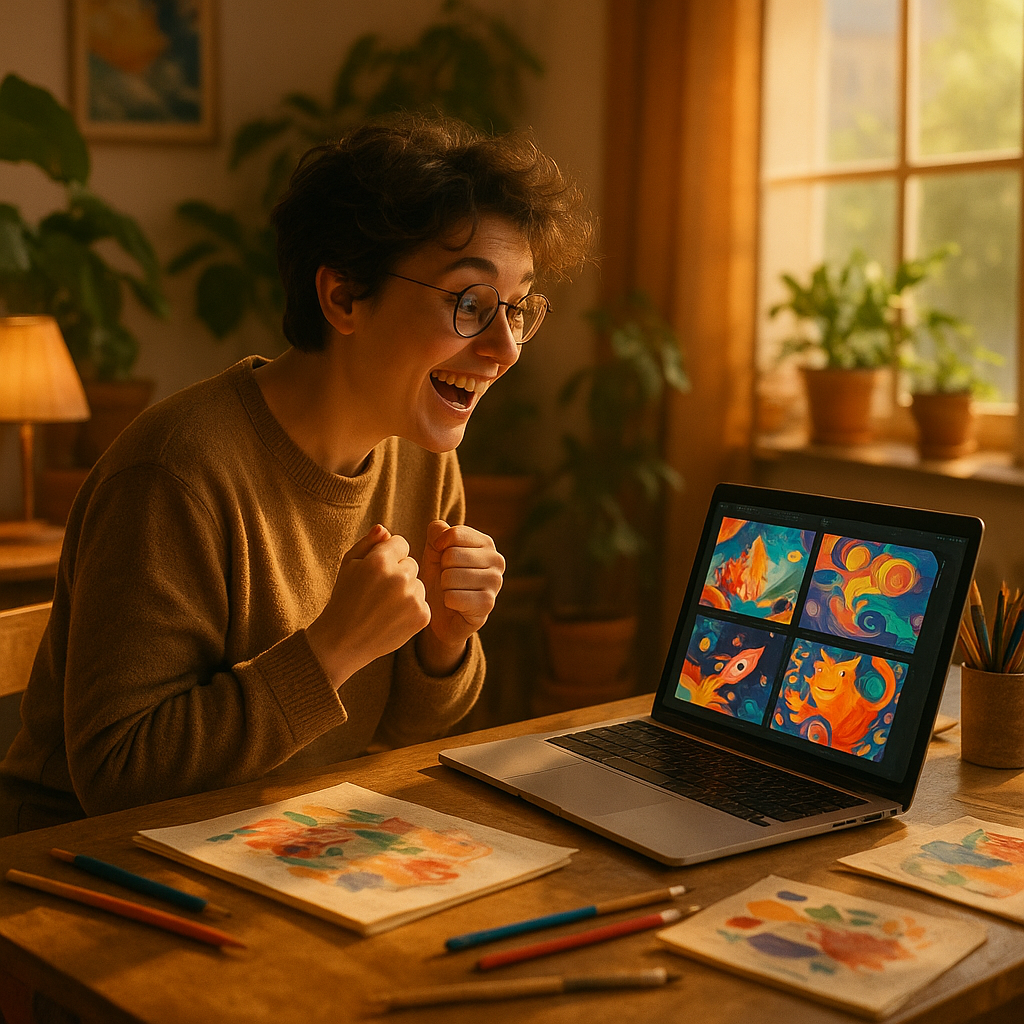
Step 5 — Generate, Review, and Download
Most generators produce results in under 10 seconds. On ATXP Pics, you type your description, generate, and if you like the result, download it. If you don't, tweak and try again.
Here's the practical workflow:
- Write your prompt using the structure above
- Generate and review — does the subject look right? Is the lighting close?
- If not: adjust one specific element and regenerate
- When you're happy: download and use
No subscription is required. ATXP Pics charges per image — a few cents each — and your balance never expires. That means you can generate 3 images this week, nothing next month, and 20 the month after that, and you only pay for what you actually create.
Compare that to subscription tools: Midjourney's basic plan is $10/month. If you generate 5 images in a month, that's $2.00 per image. At 20 images, it's $0.50 each. On a pay-per-image model, the math is straightforward — you pay for what you use.
| Usage | Midjourney ($10/mo) | ATXP Pics (pay-per-image) | |---|---|---| | 5 images/month | $2.00/image | A few cents/image | | 20 images/month | $0.50/image | A few cents/image | | 0 images/month | $10.00 wasted | $0.00 |
Common Mistakes to Avoid
The most common mistake is a prompt that's too short. "A cat" will generate a cat — but which cat, in what setting, in what style, is entirely up to the generator. You'll get something generic.
Other things that trip up first-time users:
- Stacking contradictions — "bright and moody" or "minimalist and detailed" confuse the output. Pick one direction.
- Describing what you don't want — generators respond better to what they should include than what to exclude. Lead with positives.
- Giving up after one attempt — the first result is a starting point. Small prompt edits produce noticeably different results. Expect to iterate 2–4 times on anything important.
- Being vague about style — without a style cue, you'll get whatever the generator defaults to. Add one word — "photograph," "illustration," "painting" — and the results immediately get more consistent.
You Don't Need Design Skills — You Need Specificity
Generating good AI images isn't about technical knowledge. It's about describing what you want clearly. Subject, setting, lighting, style — those four elements are the entire skillset. Everyone starts rough on the first prompt and gets faster and more precise within a few tries.
The most important shift is treating prompt writing like giving directions to someone who's never seen your vision. The more specific you are, the less guesswork is involved, and the closer the output lands to what you had in mind.